Editing a General Template
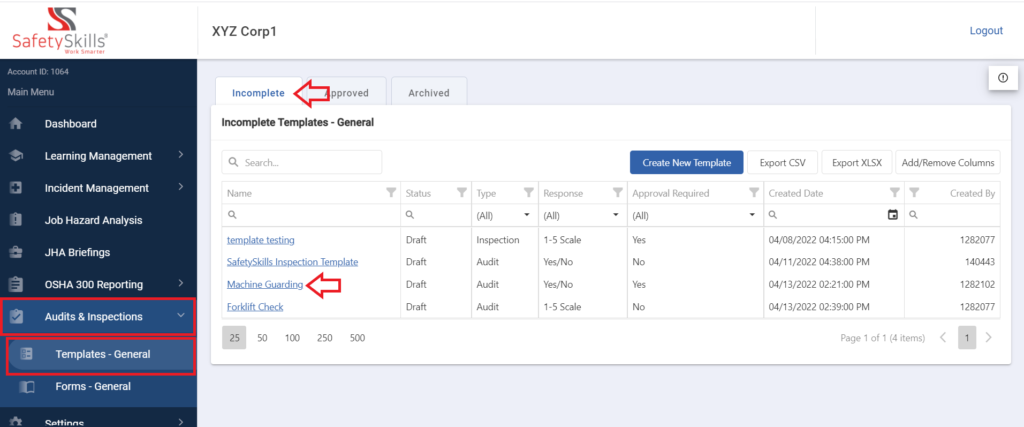
To edit a template, in the main menu select “Audits & Inspections” and click on the option “Templates – General”.
Please note, you are only able to edit templates that you have created. To begin editing, the first step is to select the incomplete template name highlighted in blue on the left side of the grid view that you would like to modify.
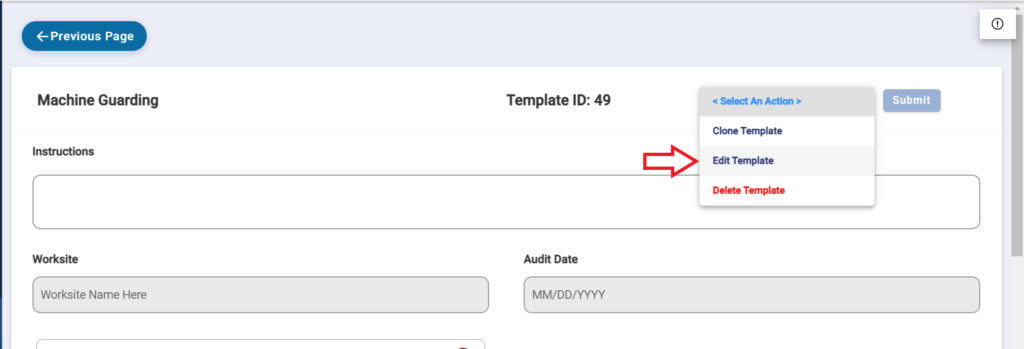
This will open the details of the existing template draft. In the top-right corner, there is a drop down menu labeled “<Select An Action>”. From this menu, select “Edit Template” and click the blue “Submit” button.
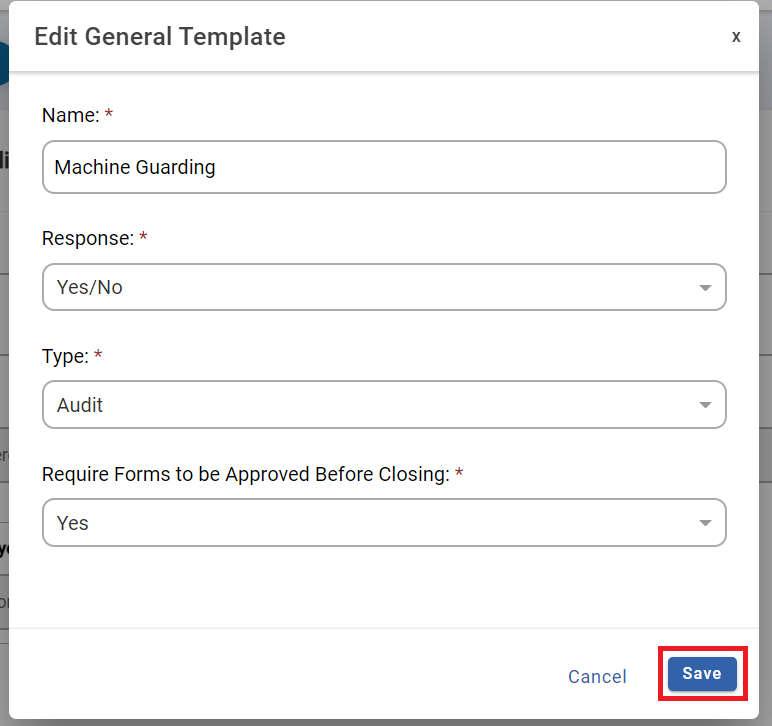
This will bring up a pop up where you are able to adjust the Name of the Template, what Response you would like to use for the format, the type of template that it is, and if the Form will be required to be approved before marking it as complete. To save any of these changes click the blue “Save” button.
After that you when the template opens and the information is displayed, if there is a section that is highlighted in grey, you are not able to edit the information within that particular section, however the information will be present and can be edited on the form.
For the Instructions section, you are able to adjust the text to provide instructions for the specific audit/inspection template. This could include the logic you would like them to follow, or the definition of the criteria you have chosen for them to utilize. These instructions will then appear on every form created that is associated with this template and be un-editable on the forms. The maximum limit for this field is 2,000 characters.
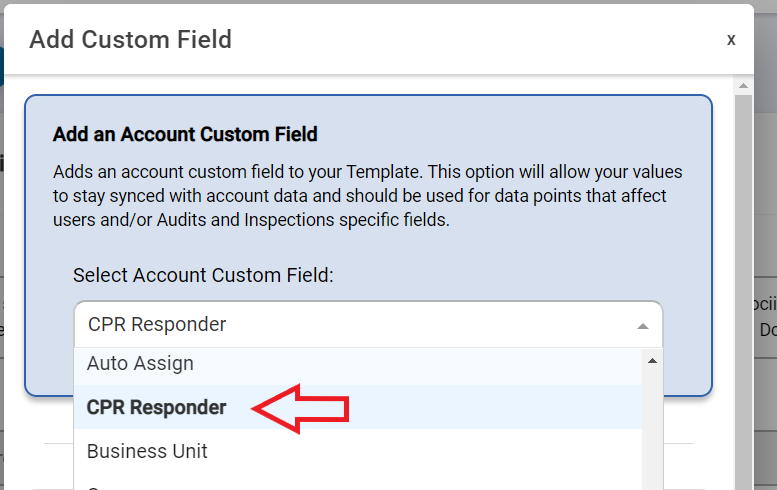
Also, you have the ability to add or remove custom fields to your template. To add, select “Add Custom Field” highlighted in blue on the right. This action will generate a pop-up message asking which type of custom field you would like to add to your template, you will have two options. You can “Add an Account Custom Field,” which will allow your values to stay synced with what already exists in your account in your user data.
Alternatively, you can also “Add a Template Custom Field,” which would be useful if the field is only relevant to this specific template, rather than the entire account.
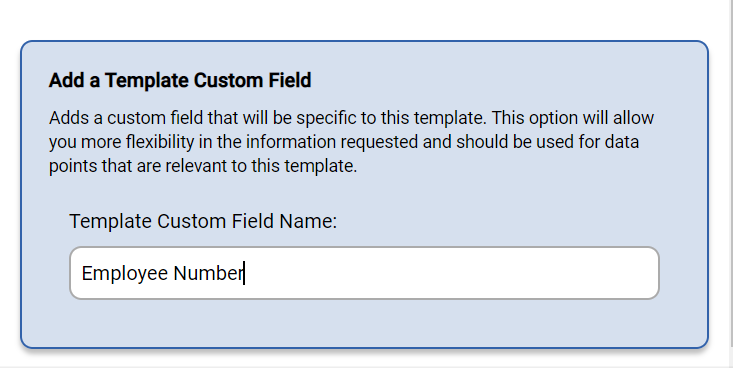
Account Custom Fields will be a list of the existing Custom Fields in your account. A Template Custom Field is a text box with a maximum limit of 50 characters. Depending on which item you choose, the option will highlight in blue and allow you to select/type the specific field you need. Once you make your selection, click “Add” at the bottom of the pop-up message.
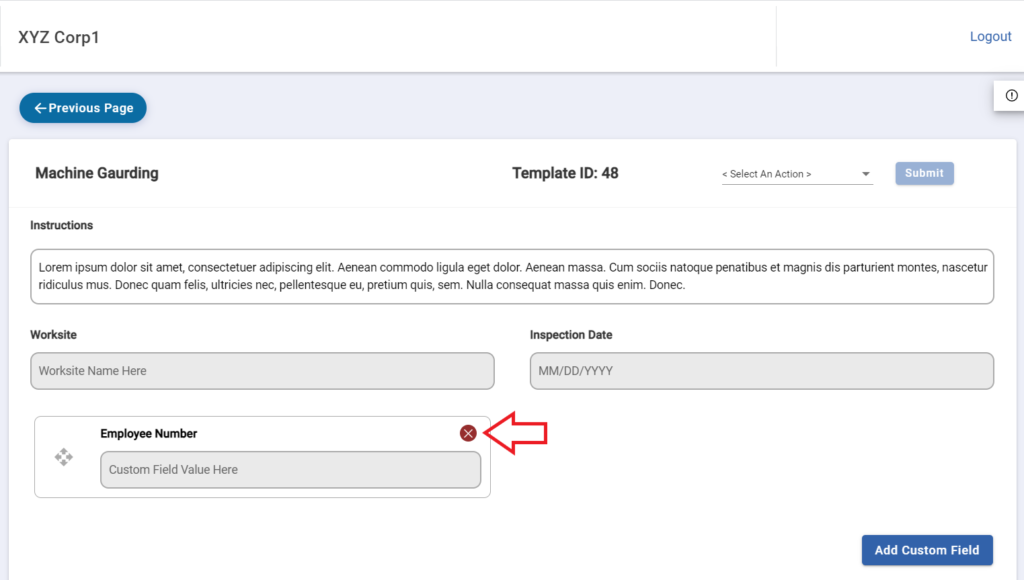
If this is selected, you will receive a pop up informing you that proceeding will delete the custom field and that the action cannot be undone. If you would like to proceed you can click the blue “Remove Custom Field” button to complete this.
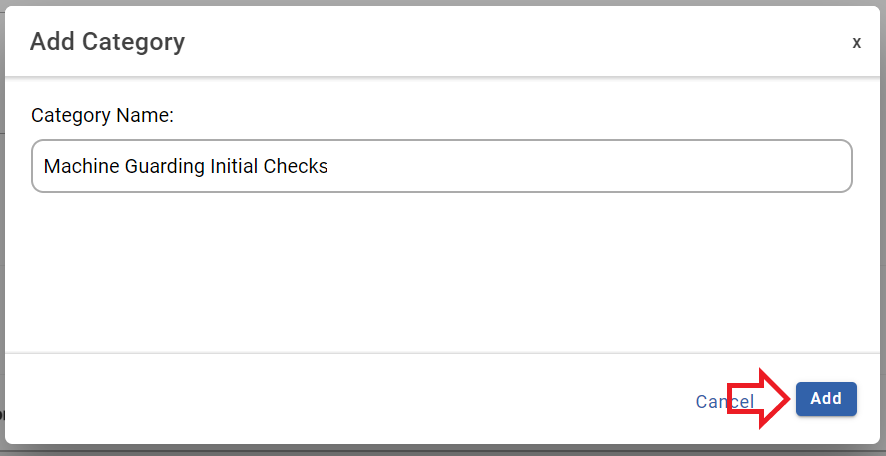
You then have the ability to add or remove categories included in the template. To add, click the blue “Add Category” button on the right. This action should generate a pop-up message asking you for to name your category. Categories are the sections of an audit or inspection that you would like your users to perform. We only require the name of a category for it to be included in the template. Once added, it will create that section on your template for you to include new items or criterial elements that you would like your users to inspect during their audit or inspection. Each category within the template will have to be unique, as you are unable to have 2 categories in the same template with the same name.
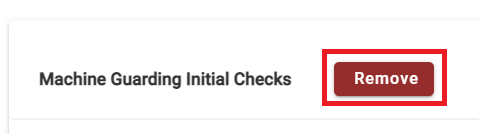
If this is selected you will prompted with a pop up message informing you that you have selected to remove the category from the template, and that proceeding will delete the category and all associated items. If this action is completed it cannot be undone. To complete this you will need to type “Delete” into the text box and click the blue “Remove Category” button.
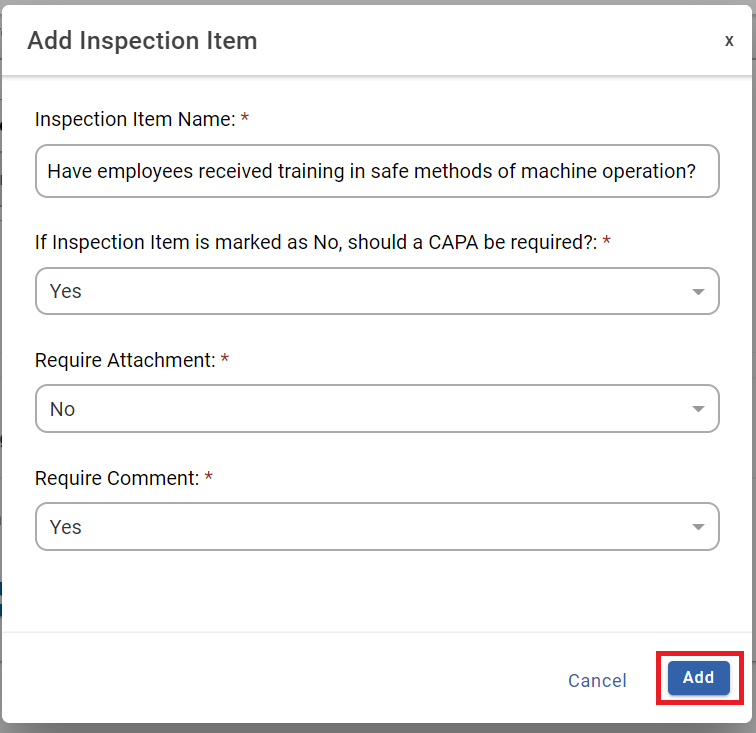
Within a category, you can select “+ New Item” to add and modify additional inspection items. Items are the individual questions/criteria that your users will be populating during the process of an Audit or Inspection. You can choose the name for your item, and then determine how you would like your users to perform the audit or inspection. Best practice is to write the items in a way that the affirmative action response signifies that the audit/inspection item has been fulfilled.
There are several questions to answer when needing to add a new item to your template. You can then select if you would like a CAPA to be required if the inspection item fails. You can also determine if you would like attachments and comments to be required on the form. Please note, you are simply creating the items from the template view. Populating responses to the items can be done later on from the form(s) that are created from this template.
Cloning a General Template
To clone a template, in the main menu select “Audits & Inspections” and click on the option “Templates – General”.
Navigate to the correct tab that has the template that you would like to clone. This could be an incomplete or an approved template. Once you have identified the template, click on name highlighted in blue on the left side of the grid view. This will open up the template details.
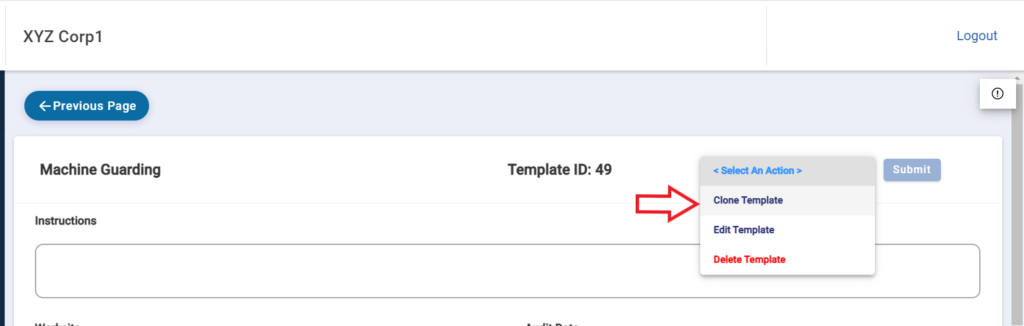
In the top-right corner, there is a drop down menu labeled “<Select An Action>”. From this menu, select “Clone Template” and click the blue “Submit” button.
Cloning a template will create a new version of the template, but will copy all of the following information and its order over from the original template:
- Instructions
- Custom Field Selection
- Categories
- Criterial Elements and all associated options
Next a pop up will appear where you will first fill in the name. The name of the template must be unique. The next field “Response” will already be populated based on the original template it was cloned from. After that you will fill in Type with either “Audit” or “Inspection”. Lastly, you will choose if the form will be required to be approved before it can be closed.
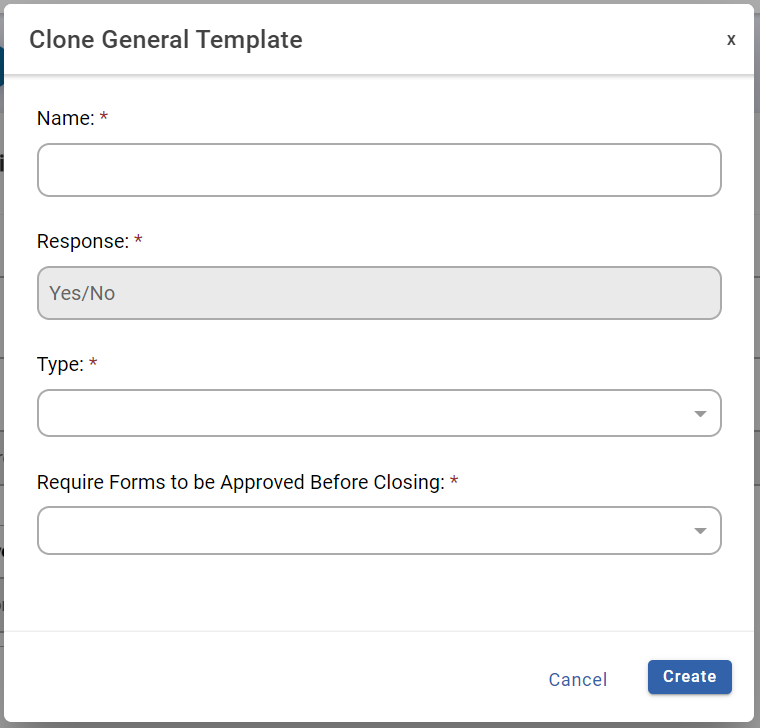
You will then click “Create”. Once submitted you should receive a confirmation message the that the template has been successfully cloned. From there the template will be in the incomplete status, and you can edit your template as needed and submit it for approval when ready.
Deleting a General Template
To delete a template, in the main menu select “Audits & Inspections” and click on the option “Templates – General”.
Navigate to the correct tab that has the template that you would like to delete. This could be an incomplete or an approved template. Once you have identified the template, click on name highlighted in blue on the left side of the grid view. This will open up the template details.
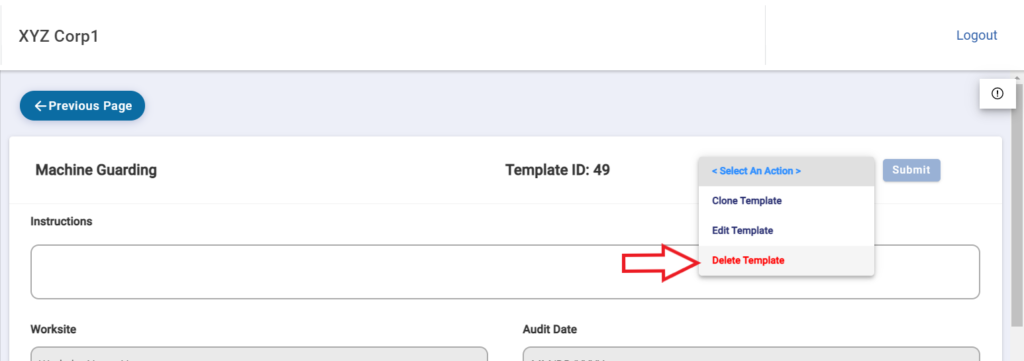
In the top-right corner, there is a drop down menu labeled “<Select An Action>”. From this menu, select “Delete Template” and click the blue “Submit” button.
Please note that if the template is an Approved Template, it can only be deleted if there are no forms associated with it regardless of their status. If the template is associated with forms you will receive an error stating that there are forms associated with this template and it cannot be deleted.
However, if the template is an incomplete template or an approved template that is not associated with any forms, you will receive a pop up for you to confirm that you understand that deleting this template cannot be undone.
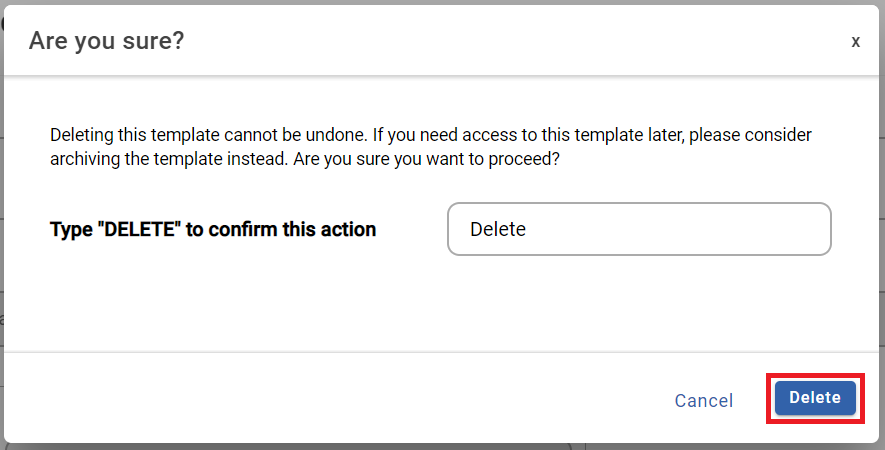
If you would you like to proceed with this action you will need to type “Delete” into the text box and click the blue “Delete” button. This will delete the template from your account.