If you are an Owner, Super Administrator, Advanced Administrator, Administrator, or Report Administrator in the SafetySkills LMS, you are able to create, run and view reports to see how your learners are doing with their training. Advanced Administrators, Administrators and Report Administrators can only run reports for the groups they have been given access to; the Owner and Super Administrators can do this for any users in the system.
To run a report displaying completed assignments, please begin by clicking on the “Reports” tab.
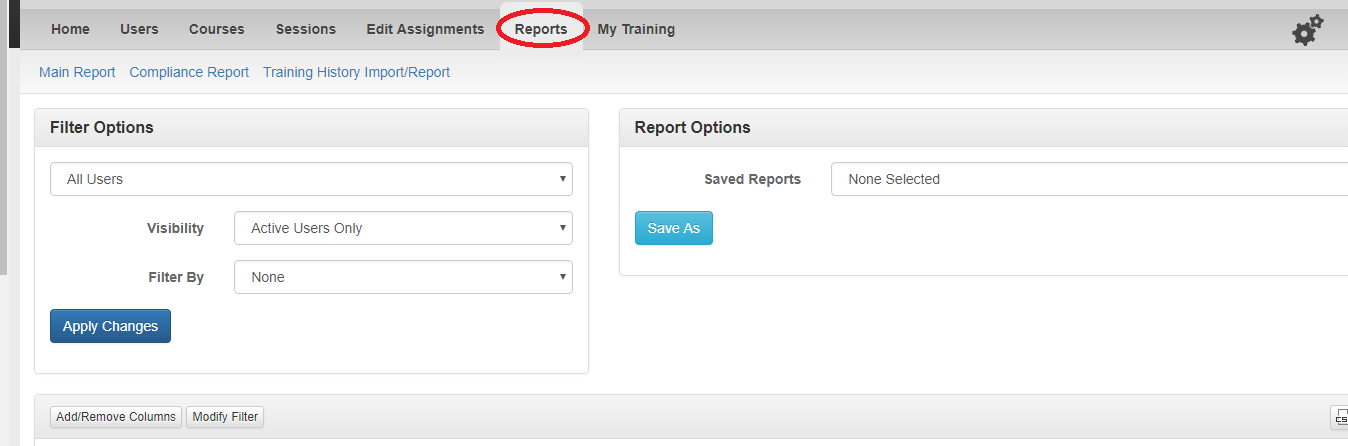
The Report Options dropdown on the right is populated with pre-configured reports and any saved reports you or someone within your account may have created. For this report, select “All Completed” from the drop down.
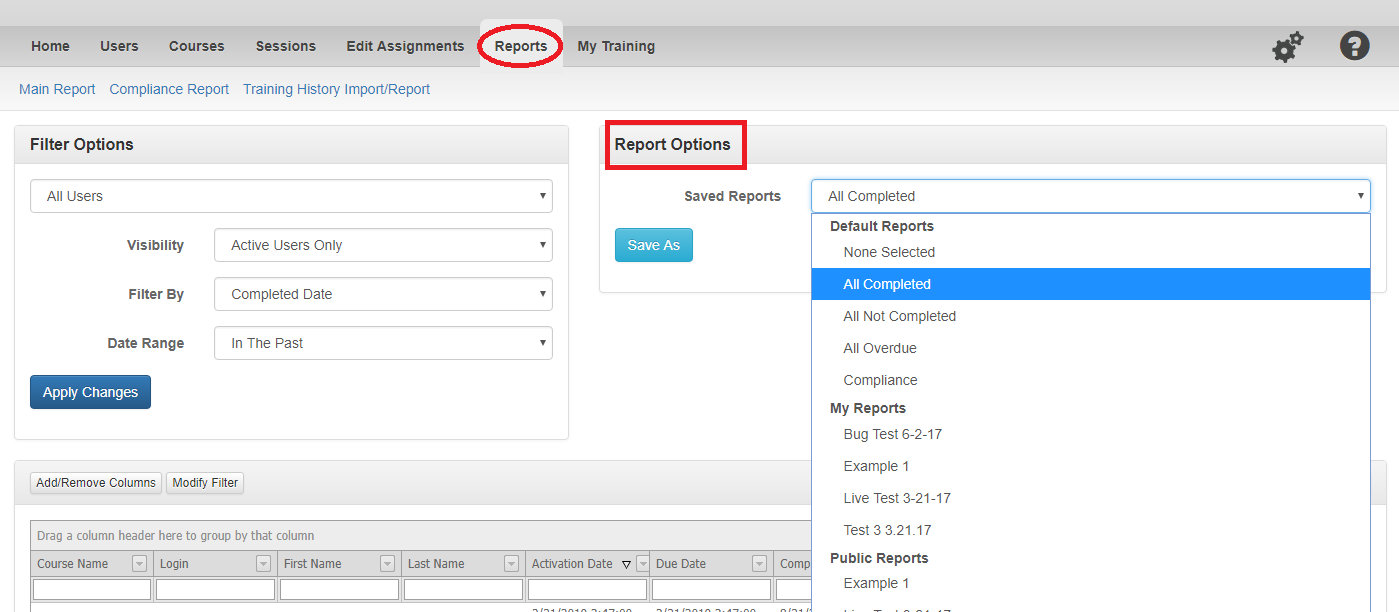
You do not need to click anything; the system will load the report automatically.
As you can see from the settings on the left under “Filter Options,” this report is currently looking any any assignment with a completion date in the past. For example, if a learner completed a course yesterday, and another learner completed a course last year, both of those courses would populate on this report.
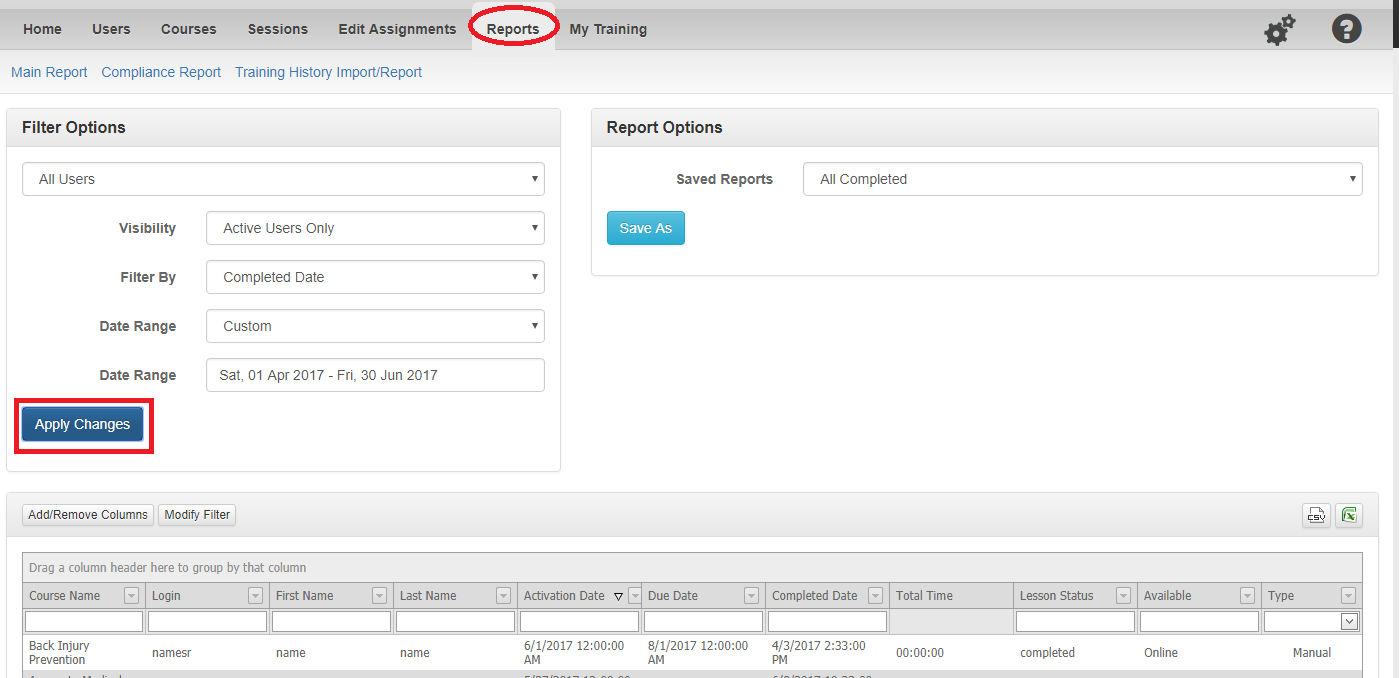
We can adjust what dates the report is filtering by clicking the “Date Range” dropdown on the left. Pre-configured date ranges will appear, as well as the option to choose a custom date range. If you choose to do a custom date range, a new box will appear allowing you to choose a new date range.
Since we want to look at courses completed last quarter, we’ll want to make a custom date range of April 1, 2019 to June 30, 2019. This will then only look at assignments completed in the 2nd quarter of 2019. Please note: If you save a report with a custom date range, that date range will be static and will not automatically update.
Once done selecting your date range, click “Apply Changes.”
Now, you have the option to organize the report information before exporting. You may do this by utilizing the “Add/Remove Columns” button to drag in or remove columns you don’t need, or by dragging a column header up to sort by that column. Additionally, you can choose the sorting on the column by clicking on the column header.
Once you have the report information sorted, you may export the report into excel by clicking one of the two icons at the upper-right of the information grid.
If you’d like to save and access this report again, you can do so by by clicking the blue “Save As” button under Report Actions. This will generate a pop-up prompting you to name your custom report.
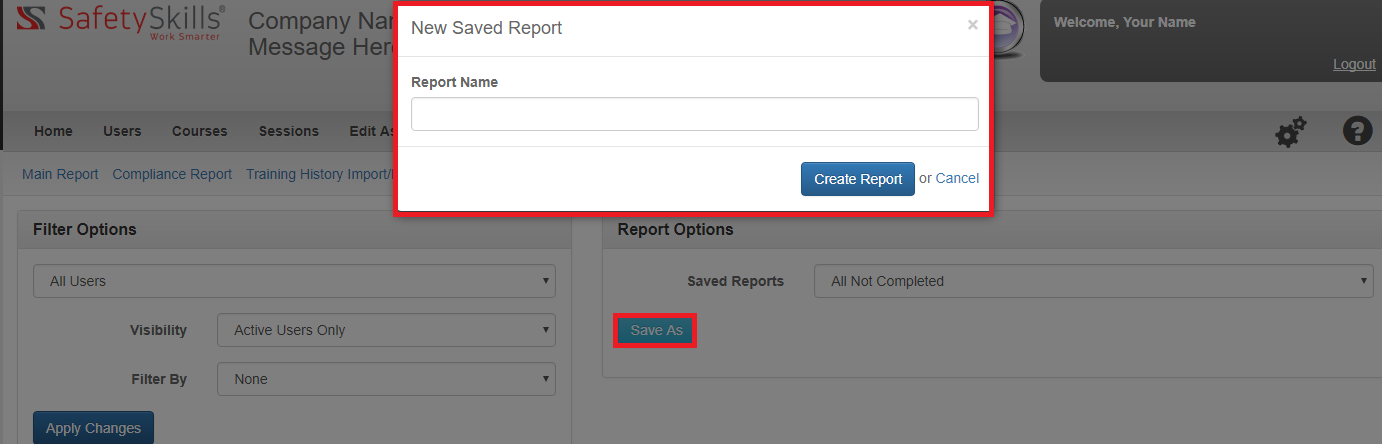
After naming your report, you also have some additional customization options.

The first option is to make the report public for other users. Checking this box would allow the report to display in the Saved Reports drop-down for other administrators to access.
The second option is to schedule the report to be automatically emailed to you either on the first of every month, the first and fifteen of every month, or weekly on a set day. Checking this box will allow you to select which scheduled option you would prefer. Additionally, you may enter email addresses of other recipients who should have the report emailed to them. These recipients do not have to be a user in the system to receive the report.
When you are finished customizing your settings, be sure to click the blue “Save” button again.