Automatic assignments allow you to schedule assignments for future dates, without having to go in and manually assign the course to the users as you want them to take it. Using the Auto-Assign feature, you can schedule training for different groups. Only the Owner and Super Administrators can modify this feature, it will affect all users in the groups that are set up in the feature.
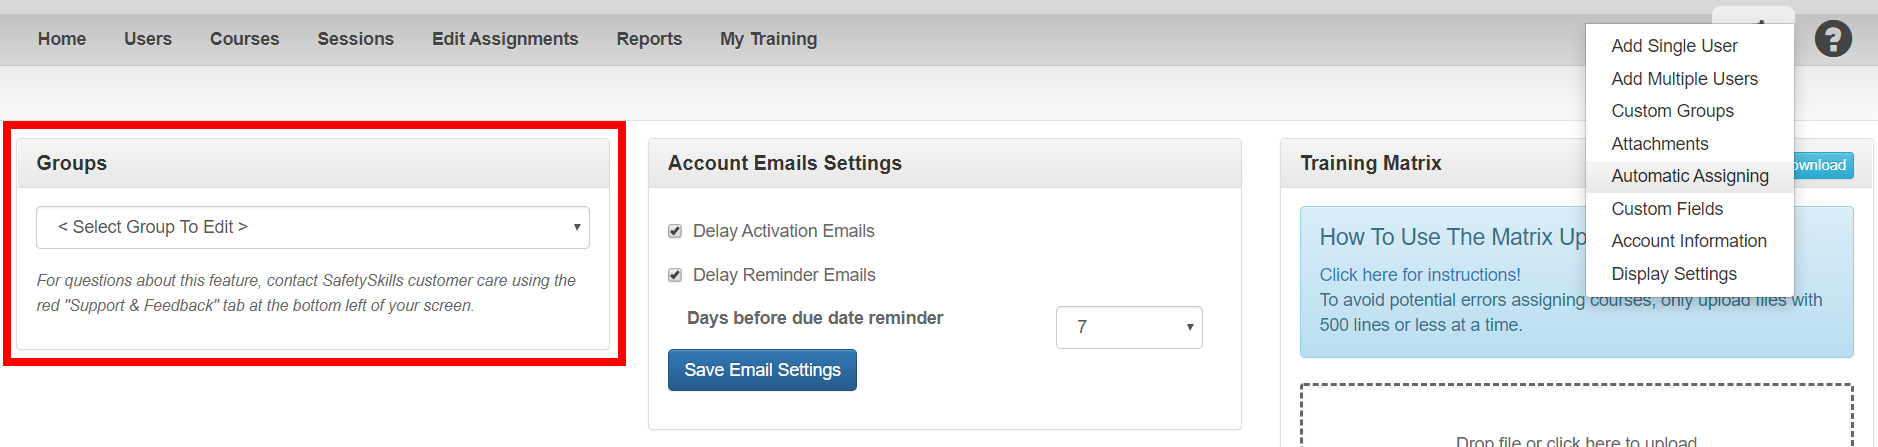
To begin, click on “Automatic Assigning” under the Configure tab. This will populate a screen that allows you to select which group you would like to set up automatic assignments for.
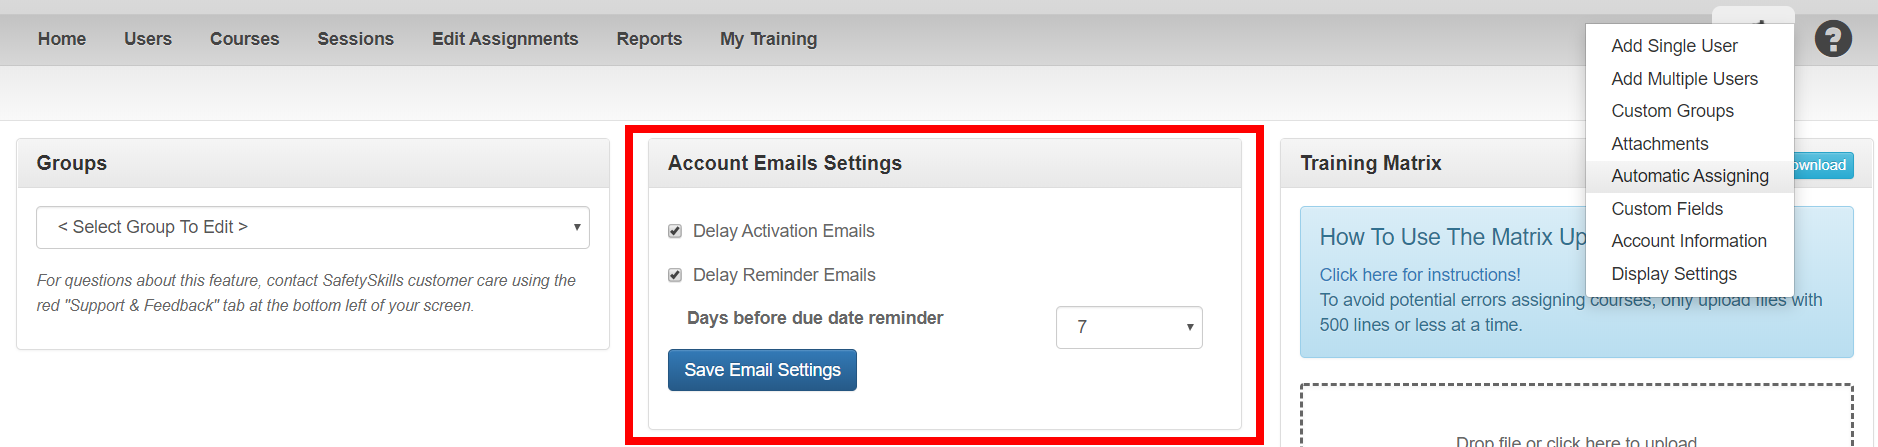
Before beginning to create assignments, review the “Account Email Settings” box in the top middle of the page. These two options will be selected as “delayed” by default. Unless you choose to release the delay for these emails, your users will not be notified that an assignment has been created, or that an assignment maybe due soon. It is best to keep the delay on until you have completed setting up the feature. This will prevent emails being received before you are ready to notify your users. Once you have reviewed the assignments and are ready to send emails you can do so at any time. Uncheck the box for the option you would like to release and then click “Save Account Settings.”
Once you have selected the group you wish to begin creating assignments for, it will populate a list of any automatic assignments that may have already been created for that group.
If you already have courses assigned to one group that you want to copy to another group, you may click the blue “Download Template” button in the upper right corner. This will download a template as an Excel Spreadsheet. For additional instructions on using the training matrix template, please go here.
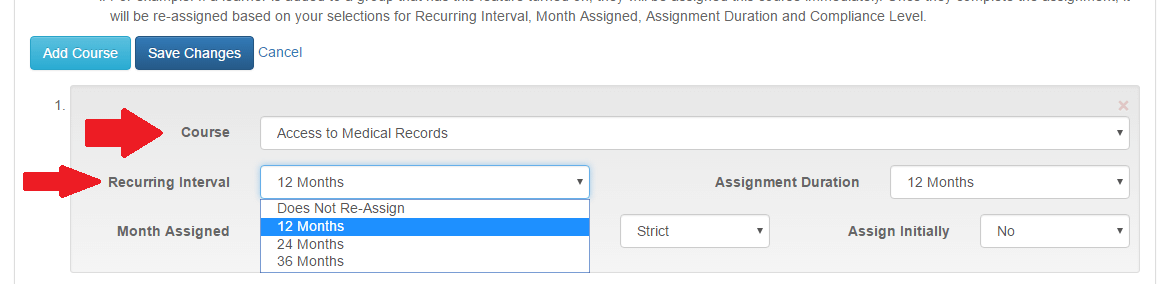
To begin adding courses to the selected group, you would click the blue “Add Course” button. This will populate a box below with the options related to scheduling a course within Auto Assign.
Begin by selecting the course from the drop-down box.
Next, you will need to select the recurring interval for the assignment. This is how many months will pass before the assignment will automatically reoccur for the users, so 12 months is equal to one year for an annual assignment. You also have the option to not set a recurring interval for the course.
Then, you will need to select the “Assignment Duration,” or how long you wish to give your users to complete the assignment. You have the option to give them from one (1) month to twelve (12) months.

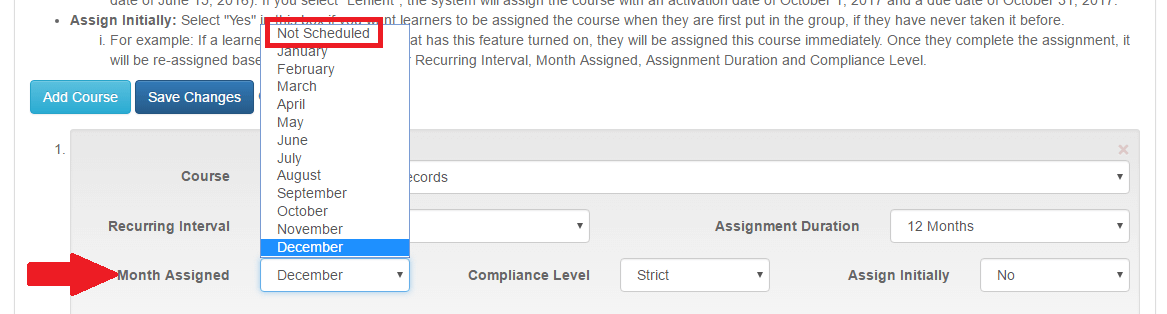
Next, you will use the “Month Assigned” drop-down box to select the month in which you would like the assignment to reoccur, if applicable. This means that if you select April and a 12-month recurring interval, the assignment will automatically populate in April every year for your users.
If you choose “Not Scheduled” for your assignment, you will not be able to modify the Compliance Level and Assign Initially settings as discussed below, and the assignment will automatically assign for the selected duration.
If you choose to schedule the month assigned, you will be able to modify the Compliance Level and Assign Initially Settings.
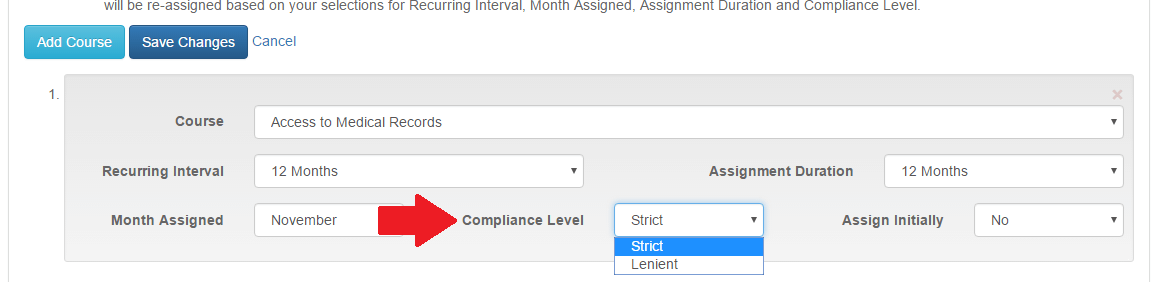
The Compliance Level drop-down gives you the option of a “strict” or “lenient” compliance for that course. A strict compliance will ensure that the course is reassigned to the day of the previous completion date for that course. In some instances, this may cause the LMS to back-date due dates for courses.
For example: Let’s say “now” is December 21, 2019 and a learner had previously completed Basic First Aid on June 15, 2019. Let’s say you also have Basic First Aid setup with a 12 month interval, 1 month duration and you changed the scheduled month from June to October. If you had the compliance level listed as “Strict”, it would assign the course “now” with a due date of October 2019 (because October 2020 would be more than 12 months past the learners previous completion date of June 15, 2019).
A lenient compliance will ensure that the course is reassigned within the calendar year required, and will not back-date any due dates. Working off of the previous example, the system would assign the course with an activation date of October 1, 2020 and a due date of October 31, 2020.
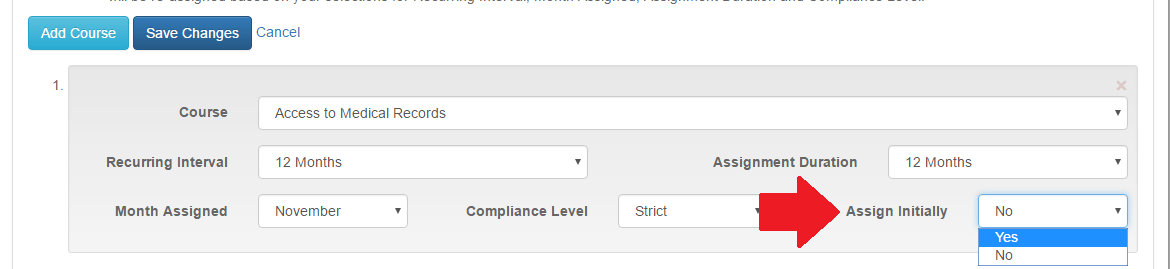
Next, you have the option to mark if the course will be assigned initially or not. If you mark “Yes,” any person added to the group who has not had the course before, will be assigned the course. If they have taken the course, or if you select “No,” the course will only be assigned during the settings you have previously selected.
When you have successfully completed filling out the information for that course, you can click the “Add Course” option to add more courses to the group. If you add too many courses, you can click the “x” in the upper right section of each course to remove it from your listing. When you are finished adding auto-assign courses to the group, you must click “Save Course Changes” before exiting the page.
Once you have saved the course changes for that group, you can choose another group, or copy the same exact course information you entered to another group by clicking the “Copy Courses to Another Group” option.