Depending on your User Type’s permissions will determine if you have access to the Reports feature. For more information about User Types and permissions please review these two articles: Creating User Types for SafetySkills Engage and SafetySkills Empower and User Permissions for SafetySkills Engage
To run a report displaying only assignments that are incomplete, please begin by going to the Learning Management section of the menu, then click on the “Reports” option.
The Report Options dropdown on the right is populated with pre-configured reports and any saved reports you or someone within your account may have created. For this report, select “All Not Completed” from the drop down.
You do not need to click anything; the system will load the report automatically.
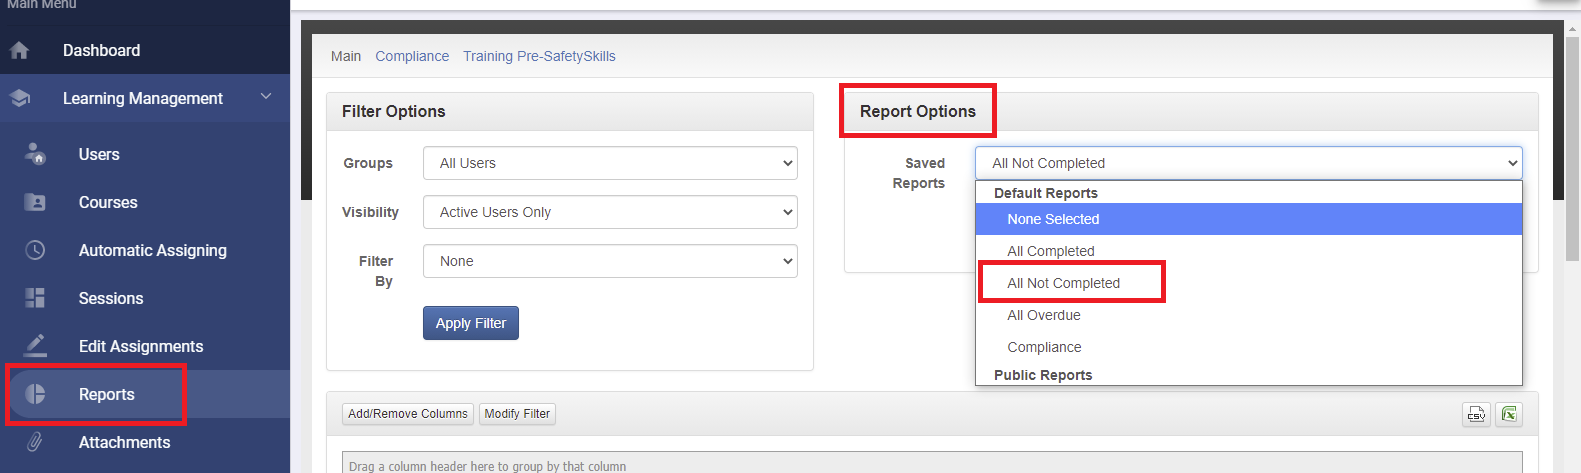
As you can see from the settings on the left under “Filter Options,” this report is currently looking at any incomplete assignment, regardless of it’s date. For example, if a learner had never completed their last assignment of the previous year but was still active in the system, it would display in this report.
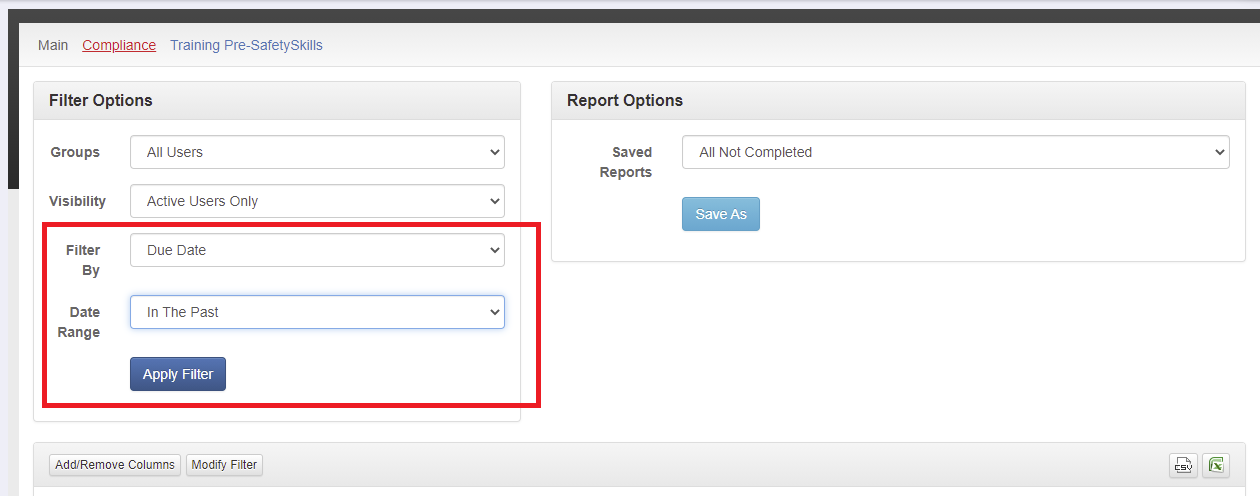
We can adjust what dates the report is filtering by clicking the “Date Range” dropdown on the left. Pre-configured date ranges will appear, as well as the option to choose a custom date range. If you choose to do a custom date range, a new box will appear allowing you to choose a new date range.
As this is an incomplete report, you’ll want to select dates in the past. For example, selecting January 1, 2019 to October 31, 2019 will bring in any assignment that has not been completed, whose due date fell in that selected date range. Please note: If you save a report with a custom date range, that date range will be static and will not automatically update.
Once done selecting your date range, click “Apply Filter.”
Now, you have the option to organize the report information before exporting. You may do this by utilizing the “Add/Remove Columns” button to drag in or remove columns you don’t need, or by dragging a column header up to sort by that column. Additionally, you can choose the sorting on the column by clicking on the column header.
Once you have the report information sorted, you may export the report into excel by clicking one of the two icons at the upper-right of the information grid.
You may also save this report to make it easier to access in the future. To do so, please review the sections about saving a report located in this article: How To Create and Run Reports – SafetySkills Engage