You have the ability to create custom fields to organize user information within your LMS. Some examples of these fields could be department, job title, or location. The ability to access and configure the account’s custom fields will depend on the user type you are assigned. For more information about user types and permissions please review this article: Available User Types in the SafetySkills LMS – Enterprise Edition
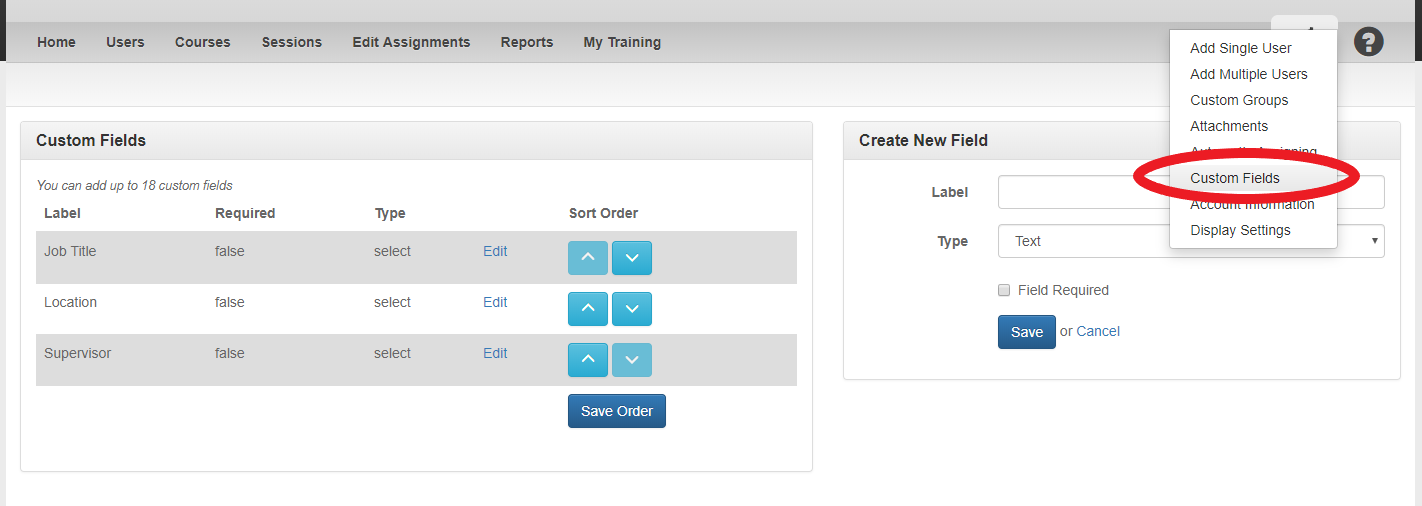
To begin, go to the “Configure” tab and click on “Custom Fields.” Enter what you would like your custom field to be called under “Label.” For example, you would enter “Department” if you were creating a field to enter each user’s department.
Next, select the type of field you want. You can either have a text field, which will allow you to type in anything you want, or create a select list, which will allow you to select an option from a drop-down list. You also have the option to choose a “Multiselect” field, for when multiple custom field items may apply to the same individual.
The field required check box should only be checked if you want to require this information be entered for each user.
To create the options for the select list or multiselect list field types, click the “Add” button, this will open the box “Items to Add.”

For example, if we needed to add “Shipping,” “Receiving,” and “Accounting” to our Department field, we would list each item, one per line.
If you have an Excel document, or other list of items, with the items listed those items can be placed all at once by using “copy and paste.” However, this option is only suggested if the items are formatted as one item per line. If needed you can use “Enter” to make the character turn to split lines.
After the items are entered into the “Items To Add” box (1) click the blue “Add List to Current Items” button (2). This action will place the items into the “Current Items” box (3).
At this point you can click the blue “Save” button to update the items for this select list.
The option that is checked by default called, “Prevent new Options from being added via multi-user upload” (4) is preventing new items from being added to your select lists in mass.
- This setting can help to improve group filter functionality by alerting you to the presence of new list items before they are added to your account.
- This option is also helping to prevent misspelling and other data mismatch issues.
- This option can be disabled per custom field by unchecking the box and then clicking “Save.”
Please note, if you are adding new values to your existing field data you may also need to update group filters to ensure the new data can trigger proper grouping of your people. For more information on how to update your group filters please go here: How to View and Edit Custom Groups
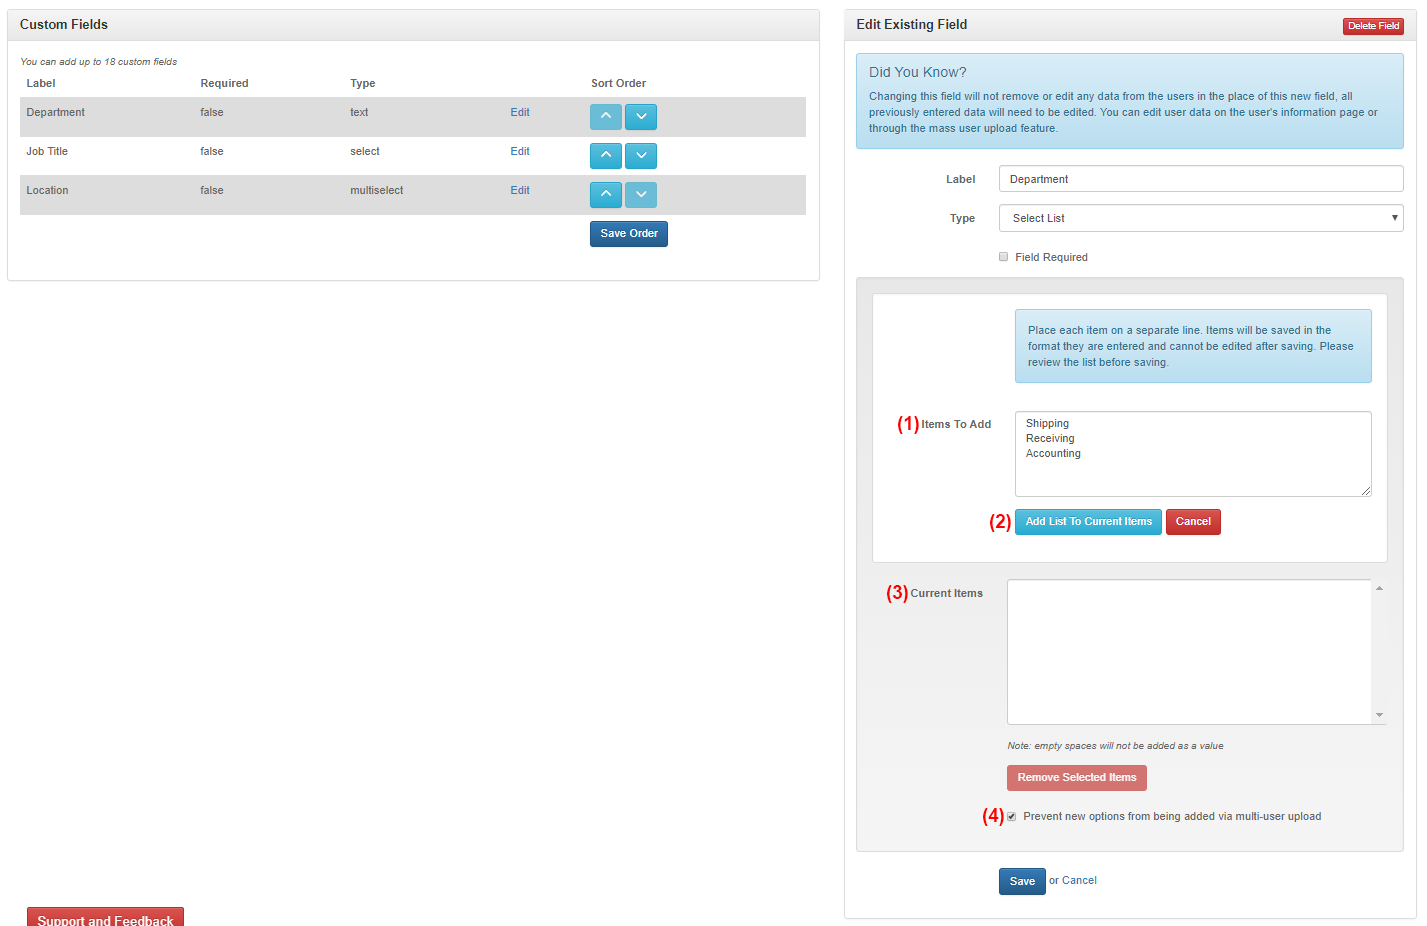
If you have entered some information in the sub-field you wish to delete, select the item in the “Current Items” list and then click the red “Remove Selected Items” button. This will only remove the selected sub-item, and not the entire custom field.
Once you are finished editing the custom field how you would like for it to appear, click “Save.” This field will now populate on the left side of this screen, along with any other custom fields you enter.
To delete a custom field, click on the blue “Edit” link to the right of the custom field you wish to delete. Then, you may click the red “Delete Field” button in the header of the custom field. Please note, that a custom field will not delete if a group filter is using data listed to that custom field. However, it can be deleted even if there is still data listed in the users profiles.

Each SafetySkills account is allowed 18 custom fields. If you run out of custom fields, you can edit or delete existing custom fields. Remember: if you change the name of a field you are only changing the title of the field, all data that has been entered for your learners in this field will stay the same.
Only a Super Administrator or Owner may edit any of the custom fields, including the information for the custom fields you have just added. An Advanced Administrator is able to edit the profile information for the users they have been assigned to manage. To edit this, you may either input the information manually for each user by selecting the blue login of each user from the “Users” tab or you can download the “User Template File” from the “Add Multiple Users” section of the “Configure” tab (as outlined here). If you choose to upload the user template file, be sure to check the box that says “Update User Information” to prevent errors from occurring.